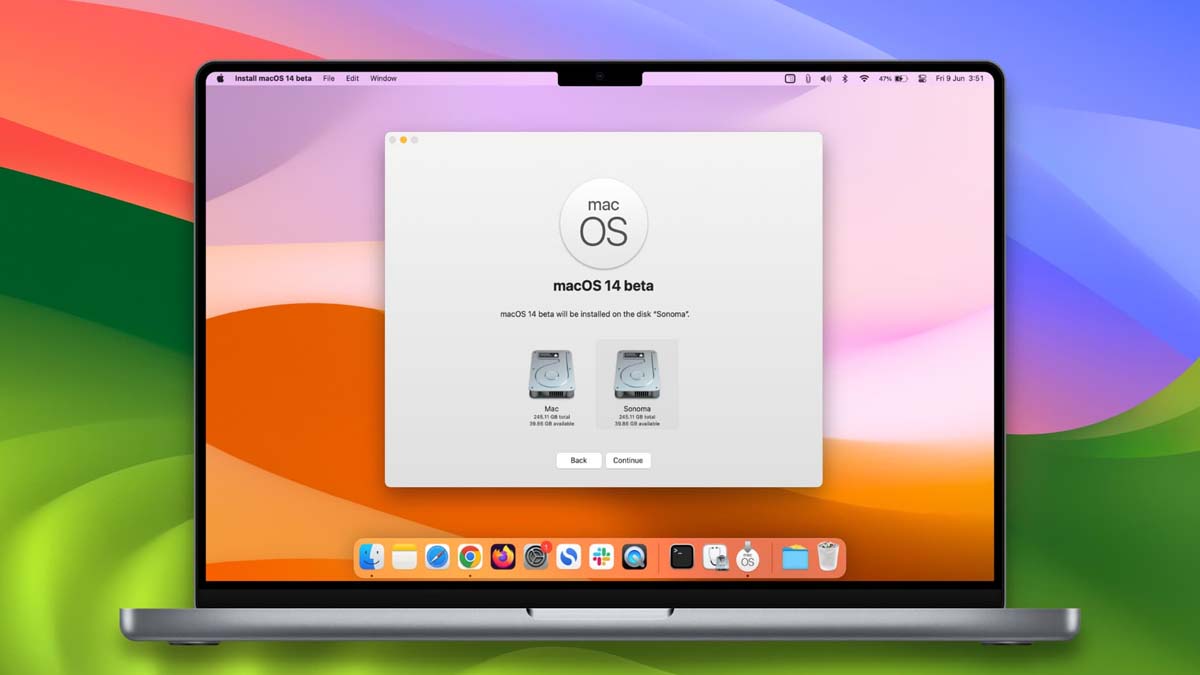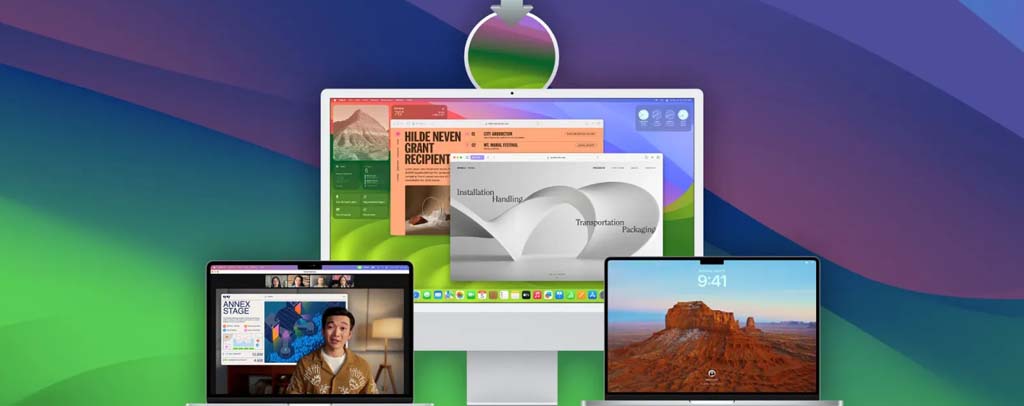
Clone MacOS Sonoma: If you want to manage multiple Macs or upgrade your system, knowing how to clone macOS from one system to another is very important. You’re in the right place if you want to copy macOS Sonoma to iMac. Here, we’ll try to guide you all through the step-by-step procedure to ensure a smooth transition.
You can’t clone on Apple Silicon Macs. These devices have different software architectures, seeing as to how the device hardware is initialized and MacOS boots. Early on with M1 Apple unfortunately didn’t lock it down enough so people trying to clone or wipe their internal disks ended up with devices that couldn’t boot a MacOS installer anymore because of missing firmware that’s at the moment stored on the internal SSD.
Why Clone MacOS Sonoma?


Cloning makes sure that your files, preferences, and apps go over without a problem when you upgrade to a new iMac.
- System Backup: Cloning creates a comprehensive system backup that you can use to return your Mac to a pre-problem state in the event that something goes wide of the mark.
- Consistency: Cloning allows you to keep your setting stable across devices if you’re managing multiple Macs.
What You Need To Prepare?


Before the cloning process, you need to gather the required materials:
- External Storage: An external hard disk/SSD is big enough to accommodate your macOS Sonoma installation.
- Software for Backup: Even though macOS comes with built-in capabilities – third-party software can deliver more customization and functionality.
- Source Mac: The Mac you wish to clone that is currently running macOS Sonoma.
- Destination iMac: The iMac that will have its copy of macOS installed on.
Step 1: Back Up Your Data
- Even though cloning is a simple procedure, it’s important to back up your data before making any significant changes. Make sure you have an up-to-date copy of all of your key files and settings by using the backup option.
Step 2: Get The External Storage Ready
- Establish a connection with the external drive: Connect your SSD or external hard drive to the Mac.
- Prepare the Drive: Click Applications > Utilities > Disk Utility to launch Disk Utility. From the toolbar, choose the external drive and select “Erase.” For macOS Sierra and after, select “APFS” (Apple File System); for earlier versions, select “Mac OS Extended (Journaled)”. After naming the drive, select “Erase.”
Step 3: Use Disk Utility to Clone macOS
- Launch the Disk Utility: Navigate to Disk Utility under Applications > Utilities.
- Choose Source Drive: From the Disk Utility sidebar, choose the internal disk of your source Mac – also referred to as “Macintosh HD”.
- Choose External Drive: In the sidebar, choose the external drive you’ve prepared.
- Clone the Drive: Select the tab labeled “Restore.” Move the external drive into the “Destination” box and the internal drive into the “Source” field. The cloning procedure will start when you click “Restore.” At this stage, all of the data on your internal drive is copied to the external drive.
Step 4: Set up the iMac’s Cloned Drive
- Connect the iMac and the external drive: After the cloning procedure completes, attach the external drive to your iMac and unplug it from the source Mac.
- Start the computer from an external drive: When your iMac restarts, press and hold the “Option” key as soon as it appears. By doing this, the Startup Manager appears.
- Choose External Drive: Press Enter after using the arrow keys to choose the external drive from the list. The cloned drive will be used to boot your iMac.
Step 5: Copy macOS to the internal drive of the iMac
- Get the iMac’s Disk Utility open: Once your iMac has booted from the external disk, launch Disk Utility once more.
- Format the internal drive of the iMac: After selecting the internal drive, choose “Erase”, referred to as “Macintosh HD.” As needed, format it to “APFS” or “Mac OS Extended (Journaled)”.
- Restore Using an External Drive: Open Disk Utility and select the “Restore” tab after formatting. Move the internal drive into the “Destination” box and the external drive into the “Source” field. To move the copied copy of macOS Sonoma to the internal drive of the iMac, select “Restore.”
Step 6: Complete Setup
- Turn the iMac back on: Subsequent to the restoration is complete, turn on the iMac again and allow it to boot all over again. Now, macOS Sonoma should be running on your PC like how it did on the original Mac.
- Check to make sure all programs, configurations, and files are present and operating properly. Reauthorizing software or making other small changes can be necessary.
Troubleshooting
- Make sure the external drive and the internal drive on the source Mac are in good condition. Disk Utility can be used for looking out for errors.
- Confirm if macOS Sonoma is compatible with the iMac. The recent macOS versions might not work well with older iMac models.


Frequently Asked Questions
In order to copy macOS Sonoma to an iMac, what do I need?
*An SSD or external hard drive with a big capacity.
*The source Mac running macOS Sonoma and the target iMac, on which you will clone the functioning system, are equally Macs.
What preliminary work should I undertake for cloning?
*Make sure your backup tool is used to backup all of the vital data on your original Mac.
*Check that any cloning software, as well as macOS Sonoma, is up-to-date.
How can I be sure the cloning procedure went well?
*Make sure that all files, apps, and settings have been transferred over perfectly.
*After the transfer, try to find any basic macOS or program upgrades.
How should I proceed if I run into problems?
*Make sure all disks and connections are linked in the approved manner.
*Try to restart each computer.
*Study the instructions provided (cloning program) you used.
*If issues persist, contact Apple Support or the support desk for your cloning program.
Final Word
You can straightforwardly clone macOS Sonoma to an iMac and ensure a smooth transfer to your new or updated iMac.
