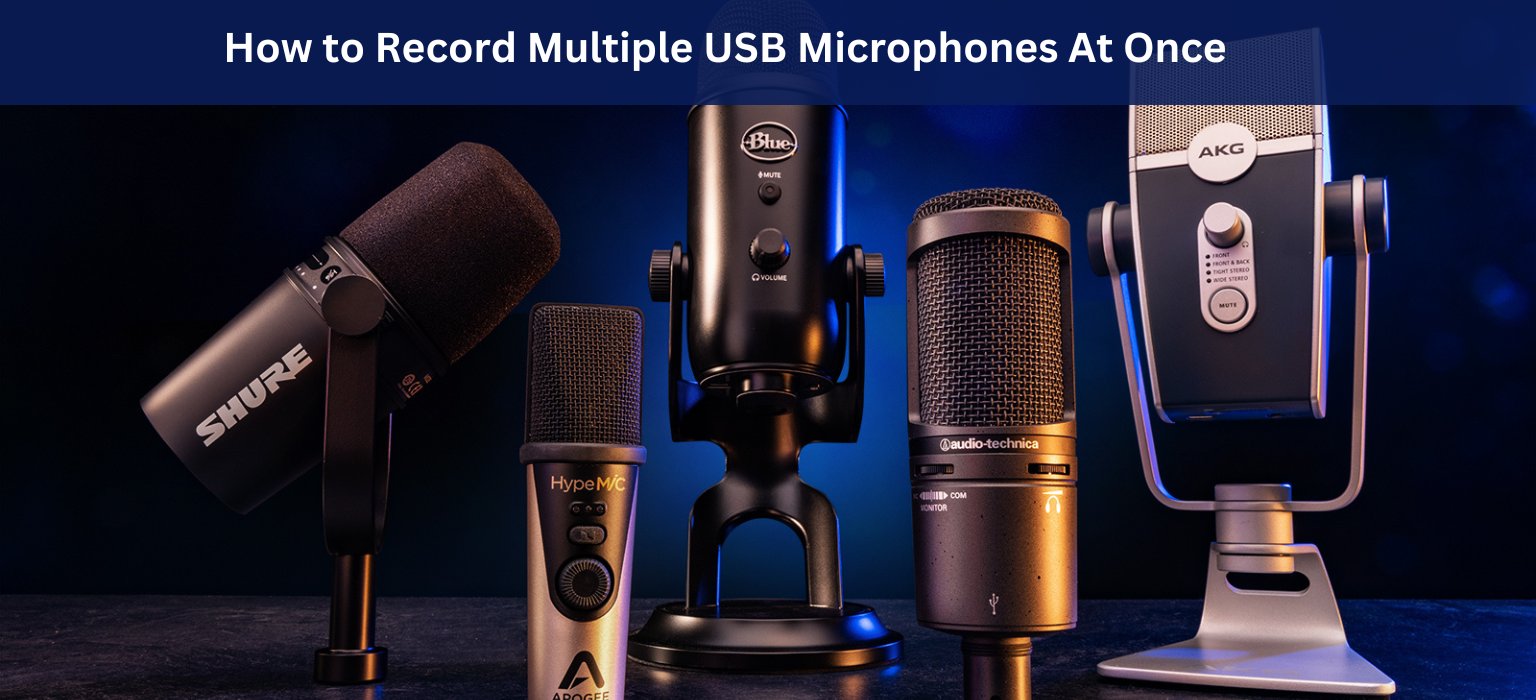
Do you want record Multiple microphones at same time? Like for podcast when each person need their own mic? This guide will teach you easy way to do it totally free!
Downloading OBS Studio Software
First, we need to download recording software called “OBS Studio”. This program is mainly for recording computer screen. But it also having very good audio mixer tool inside.
Go to OBS website and download version for your Windows, Mac or Linux computer. Once downloaded, install the OBS Studio program on your pc.
How to Set Audio in OBS

- After OBS installed, the program will open.
- In bottom-right corner, click “Settings” option.
- In Settings, go to “Output” on left side.
- Now, change “Output Mode” to “Advanced”.
Next, go to the “Recording” tab. and select:
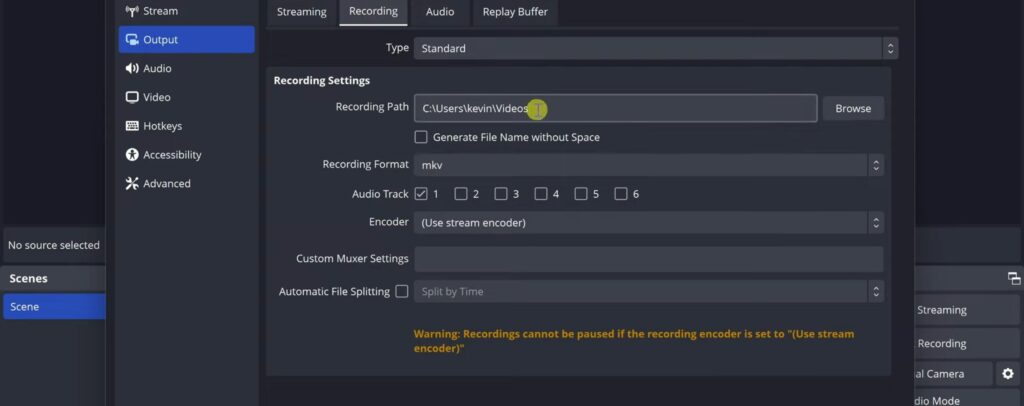

- Where to save recording file (I choose the “Music” folder)
- Recording format (choose MP4 format)
- Number of audio tracks to record (I select 2 since having two mics)
Now go to the “Audio” tab area. and select:
- Audio bit rate quality for each track (higher number means better quality)
- Sample rate quality (higher is better, I leave on max)
- Number of channels to record like mono, stereo etc.
From this, you can enable microphones to record. Simply tick checkbox next to each mic name you want record. OBS can record up to 6 different mics at once.
Configuring Microphone Settings
Now come back to main OBS window, you will now see audio mixer showing mics enabled. The mics may have name like “Mic 1”.
How to rename Microphone in OBS
- To rename mic, right-click on it and choose “Rename”.
- I rename first mic to “Phillip’s Mic” and second to “Chetan Mic”.
Why you have to rename them? because you don’t have to confused in microphones,
Setup audio mixer
In audio mixer, you can also adjust:
- Volume level for each mic
- Mute or unmute any mic
- Add audio filters like compression, gain etc.
One more setting before recording. Click gear icon in mixer to open “Advanced Audio Properties”.
Since using mono mics, tick the “Mono” checkbox for each. Then under “Tracks” section, untick all except:
- Track 1 for Phillip’s Mic
- Track 2 for Chetan Mic
You have to make sure each mic recording only on its own track, not all tracks.
Now Start The Recording
Now you can start the recording, by following this steps:
- Click on “Start Recording” button.
- If you also want to record screen or video from camera so you can video source to, if not want to record video then simply ignore the warning message.
- Click “Yes” to continue.
- click “Stop Recording” button, when you done recording.
Opening Recording in Audio Editor
After you done recording , then go to OBS “File” menu and click on “Show Recordings”. This will open folder of recorded files.
How to edit audio file in Audacity


To edit this audio file, we recommend installing free “Audacity” software, it is best audio editing to software. Once Audacity open, simply drag-and-drop the MP4 file into it.
In Audacity, you can now see all recorded mic tracks You can edit them:
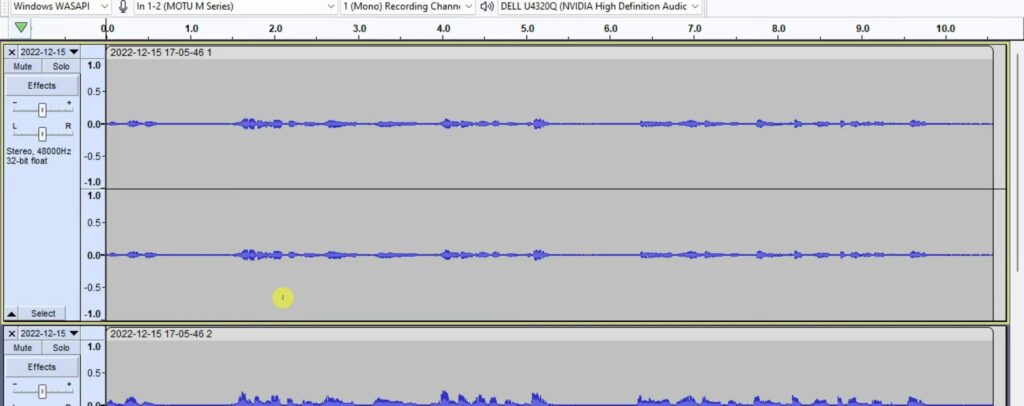

- Listen to each mic track individually using “Solo” mode
- Adjust volume levels for each track
- Apply different sound effects
- Remove any unwanted audio sections
Audacity has so powerful editing features.
Final Words
Hope this guide helps you to Record Multiple USB Microphones at once steel you are confused then watch the video below, OBS and Audacity are the best free software you can use to record multiple Microphones at one time.
Read More
